[Steps] Migrating from WordPress to HubSpot CMS
It doesn't matter whether you're a startup or a full-fledged organization, having a competent CMS platform is always necessary for your business. As they are the ones that will give shape to your day-to-day business operations.
And, in this era CMS platforms like HubSpot are taking things to a whole new level, making it a one-stop solution for all your requirements. And the best part about it is, that you don't need any prior coding skills to get yourself acquainted with this platform.
As a result, many of the businesses are opting for this era of CMS. If you feel like you have outgrown your previous CMS platforms such as WordPress, and would like to look for better options, then you have come to the right place.
Today in this article, I am going to discuss some of the perks of this platform, and things you should keep in mind while migrating to HubSpot CMS.
What Does HubSpot CMS Have to Offer?
First, let's make it clear why you should migrate to HubSpot CMS over any other CMS platform. For this, let's have a look at some of its perks: -
- Built on top of HubSpot CRM (That said, you can migrate to HubSpot CRM to get everything under one roof.)
- Numerous customizing options for your content to serve a diverse demographic.
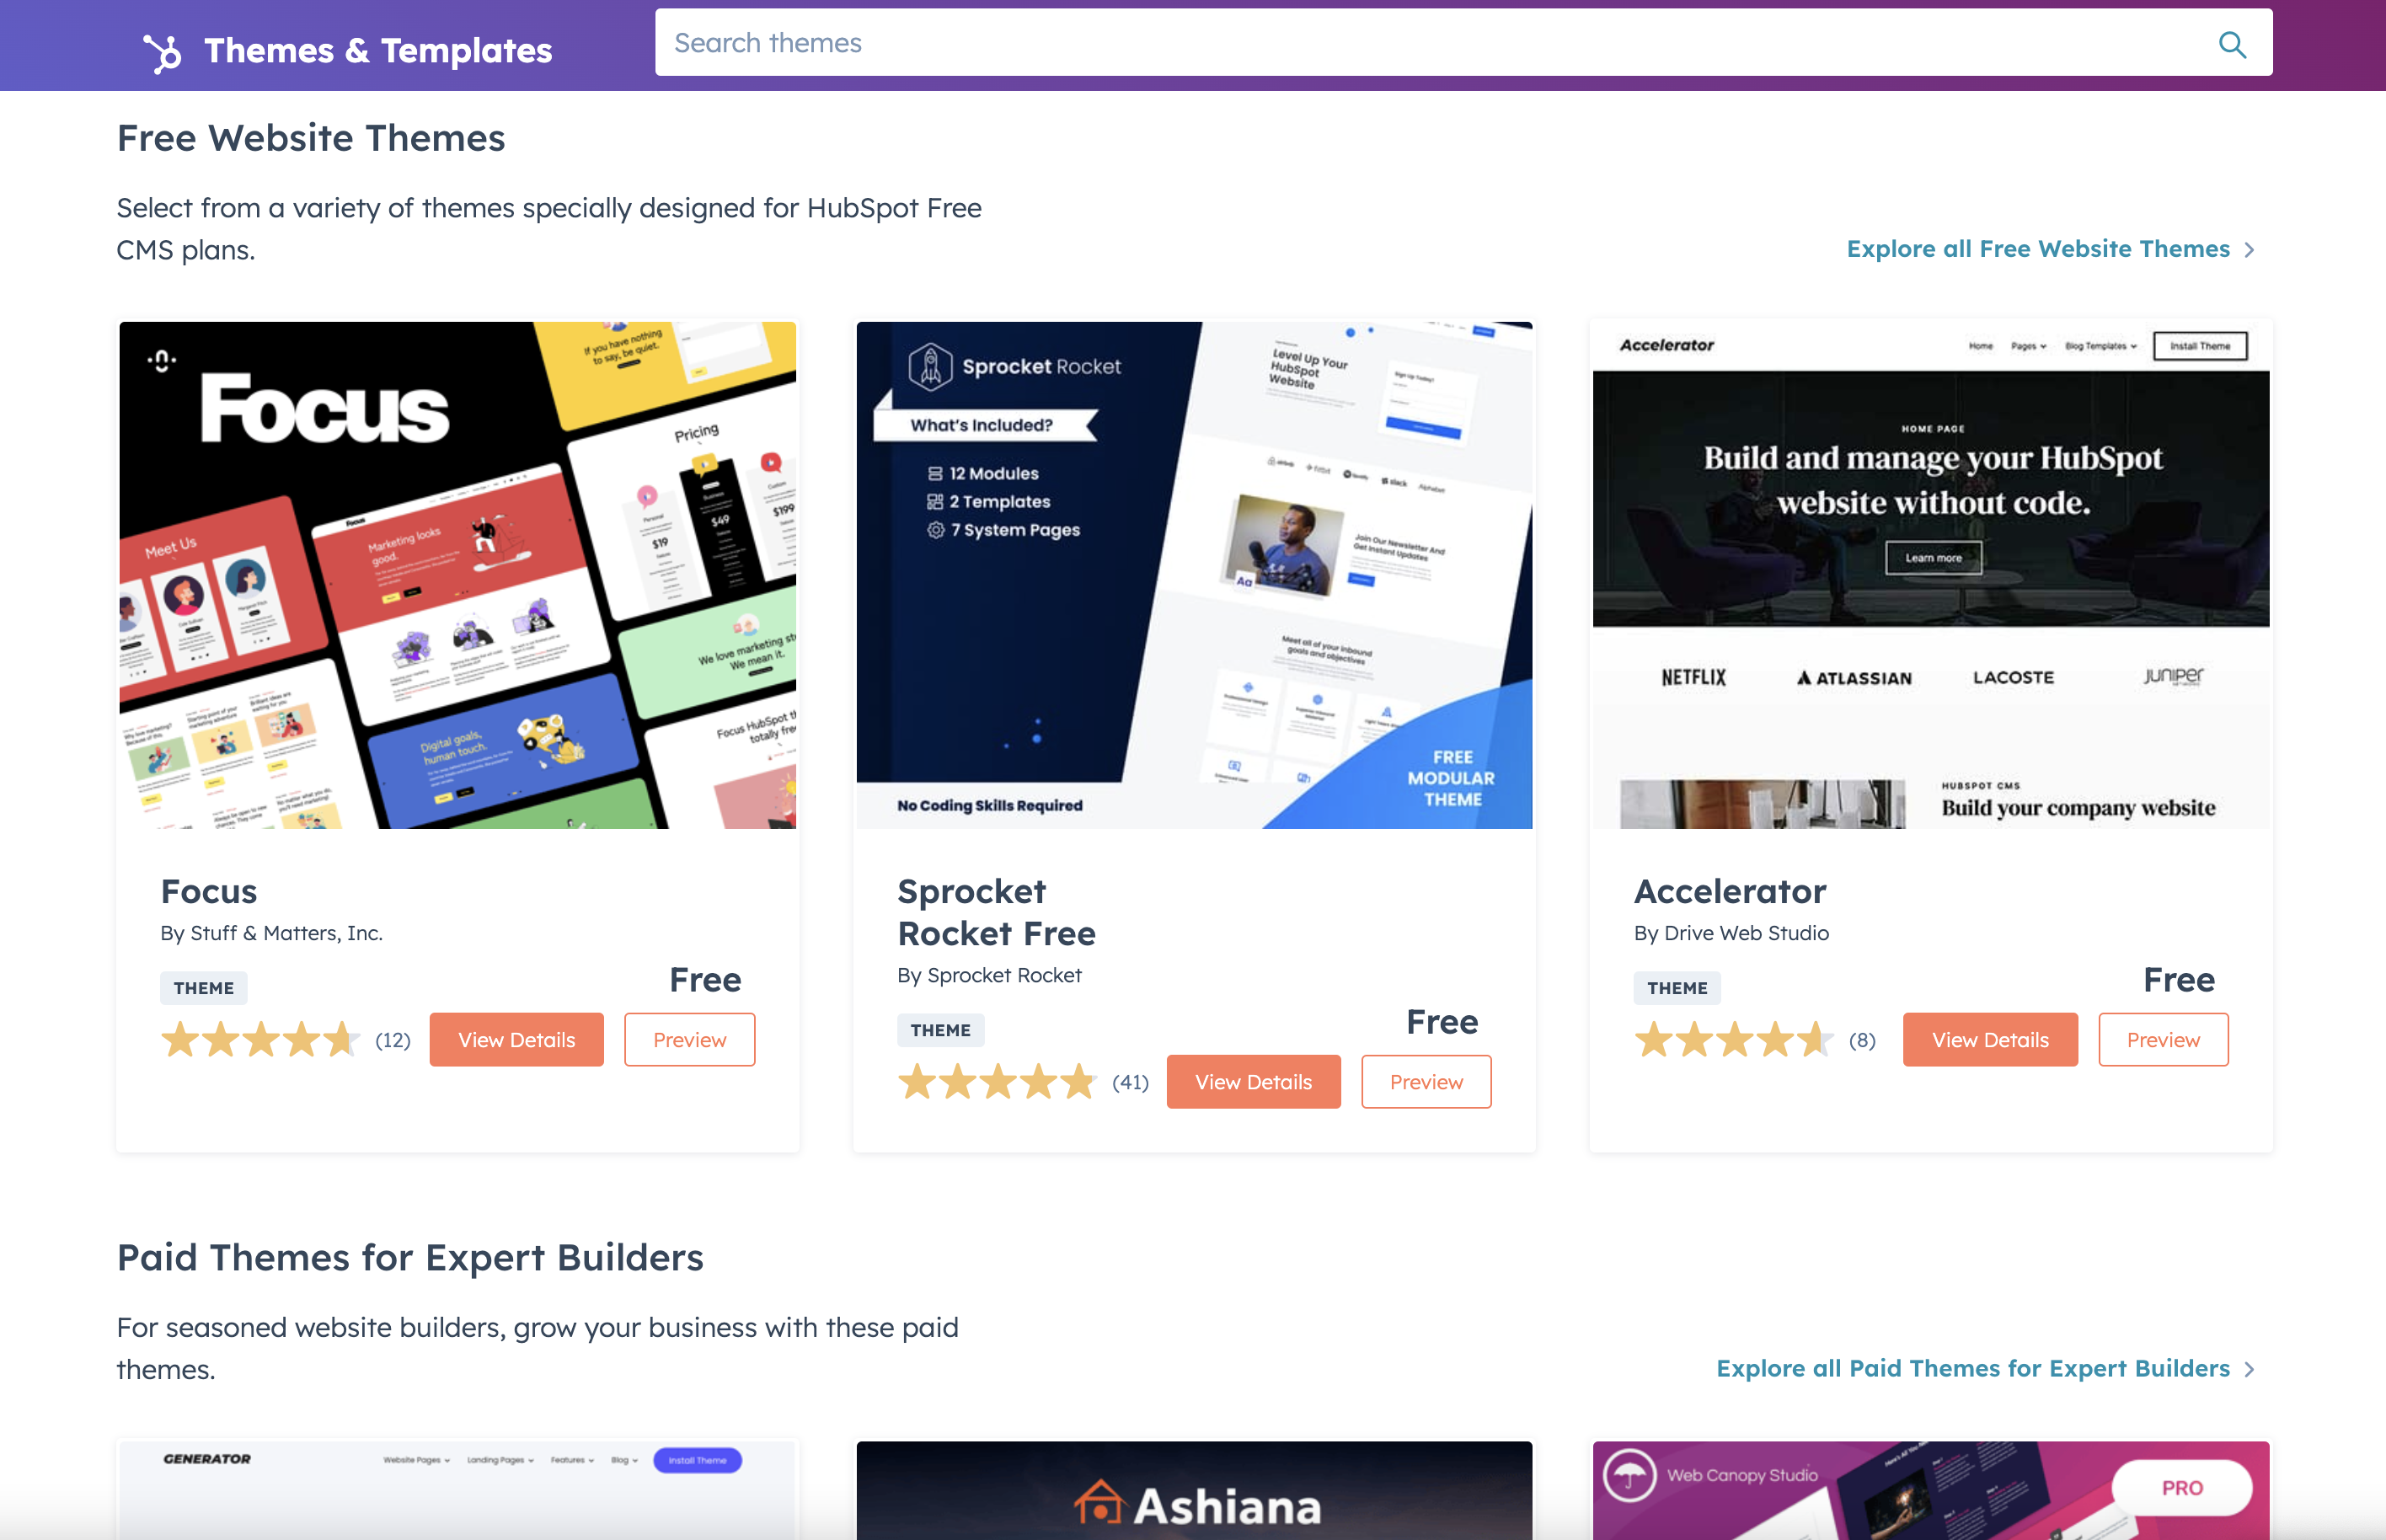
- Personalized templates that are proven to give results.
- Equipped with top-notch analytical tools which can be used for content optimization.
- In-built social networking features and analytical tools.
- Integrated SEO-friendly features.
- Highly customizable email marketing campaigns.
- A seamless and easy-to-use website.
- Template supported by all types of devices.
- A dedicated customer support service, which is available round the clock.
Steps For Migrating from WordPress to HubSpot CMS
All the perks that I have mentioned in the previous section might have got you intrigued about this platform. However, you might still have some doubts about the whole migration process. Since migrating your entire database to HubSpot CMS might seem like a daunting task.
Don't worry, let me walk you through this process: -
1. Review Your Current CMS Platform
Before moving ahead with the migrating process, first, you have to build a "wish list", which is basically all the things you expect from your new CMS platform.
If you want to rename your company, you may need to make some substantial changes. It's possible that your entire system and content will need to be updated. Now is the moment to start putting all of those fantastic ideas together in one place.
Choose what you like the most about your current website, and which elements you would like to eliminate. This will help you to optimize your migration process, and reduce some development expenses.
You should have a clear idea of what your new website should look like. Try noting down all the essential elements and have a thorough discussion session with your team. Additionally, you could understand the performance of your current website using the website grader tool that will give you a detailed analysis by SEO, Mobile, Security and more.
2. Make a List of Templates
Next, make a list of all the essential templates you will require for your new website. Focus on all the pages that might appear on your new site. Some of the common examples are homepage, about page, contact pages, landing pages, etc.
Research some of the best practices while building your templates, which can include lucrative headlines, appealing language, and a sting call-to-action. All of this will help you to gather quality traffic, and ensure steady growth of your website.
3. Create a Webpage list
You need to keep track of all your web pages so that your visitors won't get lost while browsing through your website. You can also use a spreadsheet to structure your tracking process.
This will help you to determine the flow of your website. Eliminate any repetitive pages that you might come across during this process.
And, while setting up your web pages try to focus on the things that will make it easier for your visitors to understand the ideas you want to present through your website.
Let's say, for instance, you own a company that provides wedding-related services.
And the services you offer are consulting, preparation, and fully professional service.
In this case, it will be beneficial if you can have a separate service page for each of your services. This will also help you to target those keywords, and your visitors will have a good idea of all the services you're offering.
4. Create Your Templates
For this, you can rely on your developer to create all your templates. However, if you prefer to do things yourself, you can get yourself acquainted with the easy-to-use layout editor of HubSpot. It has simple drag-and-drop functionality, and editing won't be much of a hassle if you have a clear idea of what your template should look like.
However, there are a few things you should keep in mind: -
- You should make sure that your template can be used in the future as well. However, you don't have to make them precise; you can change them later if needed.
- Versatile components should be used in each area of the template.
- Rather than creating complex groups, create bespoke modules.
- The template should have as little content as possible.
- For your headings, footnotes, or usual CTAs always use global groups. This way, you can modify them all at once if needed.
5. Move Your Content
Now that you have everything in position from the templates to all your web pages, it's time to start moving your content.
In this stage, keeping track of your information is extremely important, otherwise, you will risk valuable information getting lost. So, for this purpose, you should definitely use a spreadsheet.
It takes a lot of effort to relocate everything. You don't want to get lost in the middle and miss critical information. So keep an eye on your progress and ensure that whatever elements you want to keep can properly move over to your HubSpot CMS.
6. Importing Your Posts
For this step, it will be better if you can use the HubSpot Blog Importer Tool. This tool will assist you to bring over all your blog posts and articles along with their pictures and tags. This will be a much easier process, rather than manually re-uploading them to your new website.
You have to keep in mind that HubSpot can't employ tags or categories, instead, it utilizes a unified organizing approach.
Normally, we utilize WordPress categories to organize multiple entries on the same subject. Having said that, tags have traditionally been used as meta tags. However, currently, all the search engines have stopped relying on them.
This implies, that even if the tags can help you to categorize your posts, they aren't that helpful from the perspective of inbound marketing.
In case you face some difficulties with this approach, here are the steps you can follow to move your WordPress blogs to HubSpot via WordPress connect: -
- First, you have to go to the setting in your HubSpot account.
- Now, locate the sidebar menu and navigate yourself to the Website option and then go to blogs.
- Now, tap on the dropdown menu and click on "Import blogs".
- Now, locate the "Import new blog" option. In case you have previously imported a blog, tap on "Start new import" and opt for the "Blog posts".
- Now, click on the WordPress connect option.
- Now, go to the “blog field” and carefully enter the URL of the listing page of the blogs on your website.
- Now navigate yourself to the "HubSpot blog dropdown menu" and choose the blog where you want your contents to be hosted. Or you can also create a new post, from the "Create new blog" option.
- Now, finally, click on the "Copy Blog post" option.
This importing process can take a bit of time if you are importing a lot of content at once.
7. Add Your Redirects
Until now, you have already migrated most of your web pages and posts. Now you have to make sure that people can be able to locate them.
By implementing the appropriate templates which you had previously, you can now start adding your redirects to your new HubSpot account. The easiest way to do this is by selecting Domains & URLs from the options icon.
Once you're done with this step, the search engine crawlers can able to track your fresh content through your previous website.
8. DNS Adjustments
Now that you have made your website live, it is time to make some changes to your DNS. This will help your visitors to locate your new website, even if they have entered the name of your older site.
Make sure that you have linked your domain name with HubSpot. To do this, navigate yourself to the Domains & URLs page once more. Here, go to the settings option and make the required changes in your DNS.
Final Thoughts
Migrating from WordPress to HubSpot CMS is like exposing yourself to a whole new realm of fresh opportunities. Getting yourself acquainted with the variety of tools and functionality of HubSpot CMS might take some time. However, it will definitely be worth your time and effort. If you are looking to outsource these tasks or need help with HubSpot CMS migration, we, as a HubSpot partner agency, are ready to help you with our HubSpot services.